📜 KYC Reliance using Sumsub: A Comprehensive guide to integrate with Transak KYC system
Overview
Transak has introduced an exciting new feature that allows partners to share their KYC data from their platform with Transak using Sumsub. This feature enables partners to seamlessly onboard users to Transak using their existing KYC data.

🔗 Quick Links
⭐ Key Benefits
|
|
|
|
🧑🏻💻 Quick Setup
Step 1: Log in to Cockpit Sumsub
Log in to https://cockpit.sumsub.com/
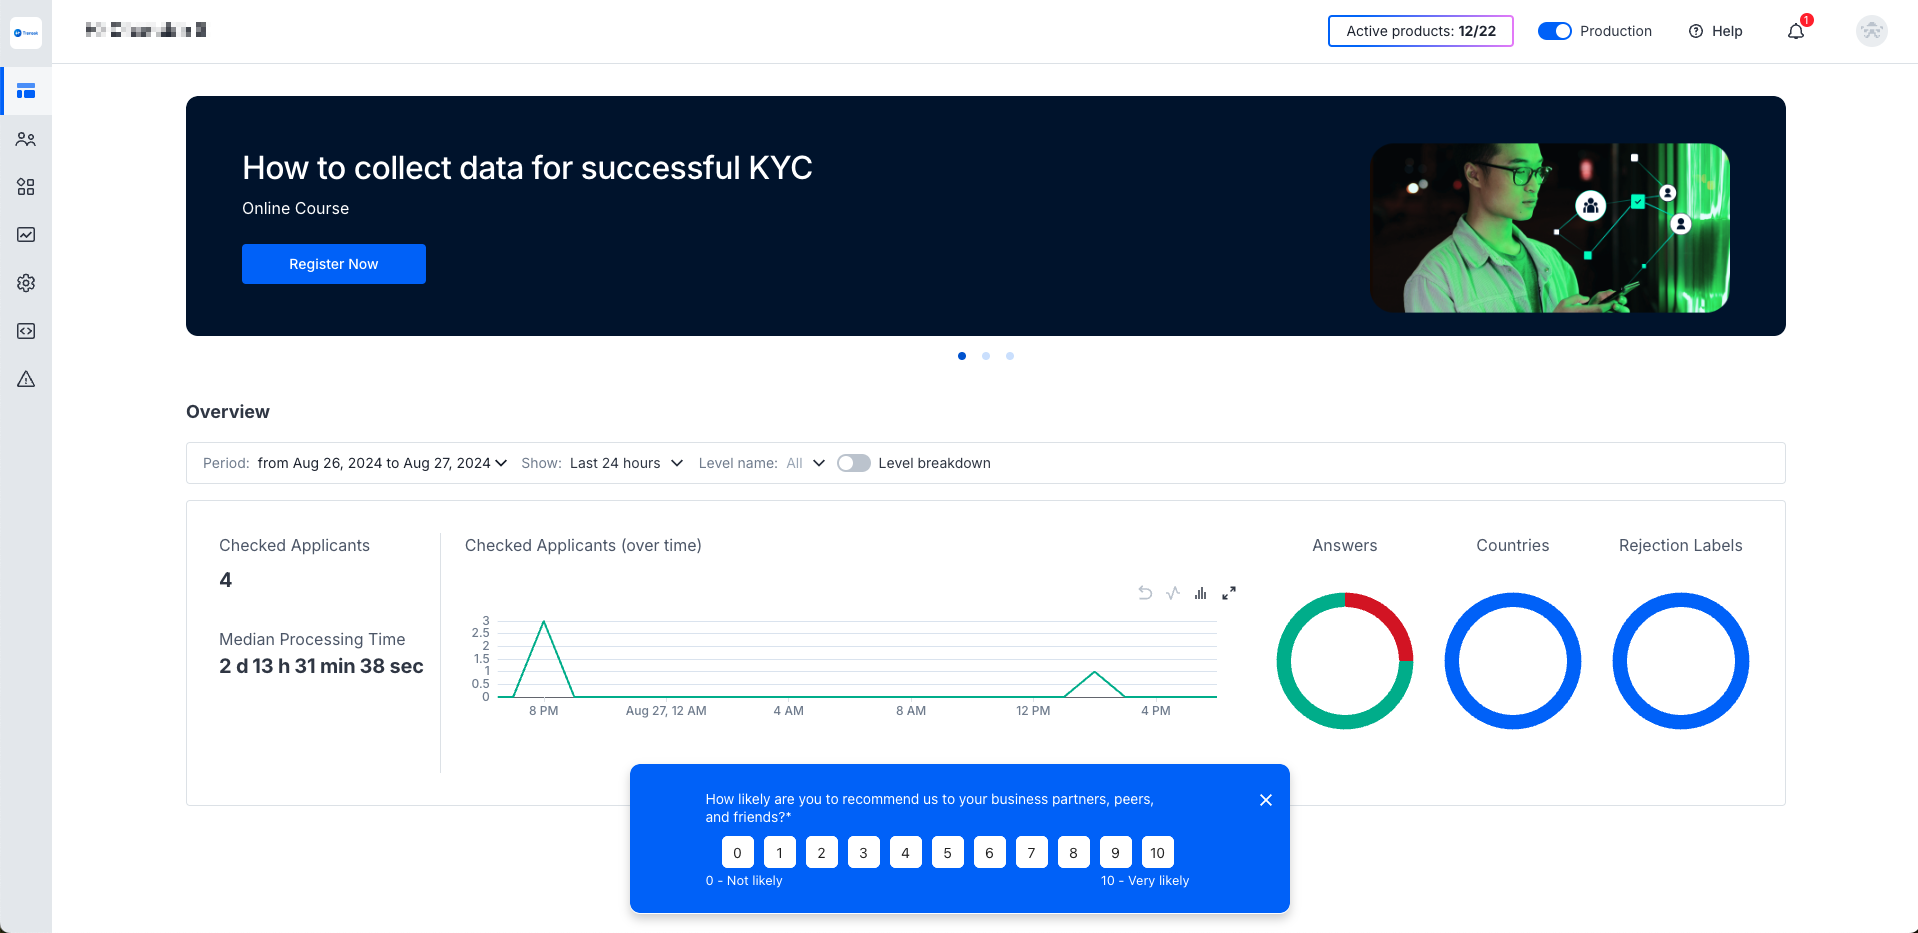
Step 2: Create a Level in the dashboard
Navigate to Integrations -> Application Levels -> Individualand click Create Level CTA
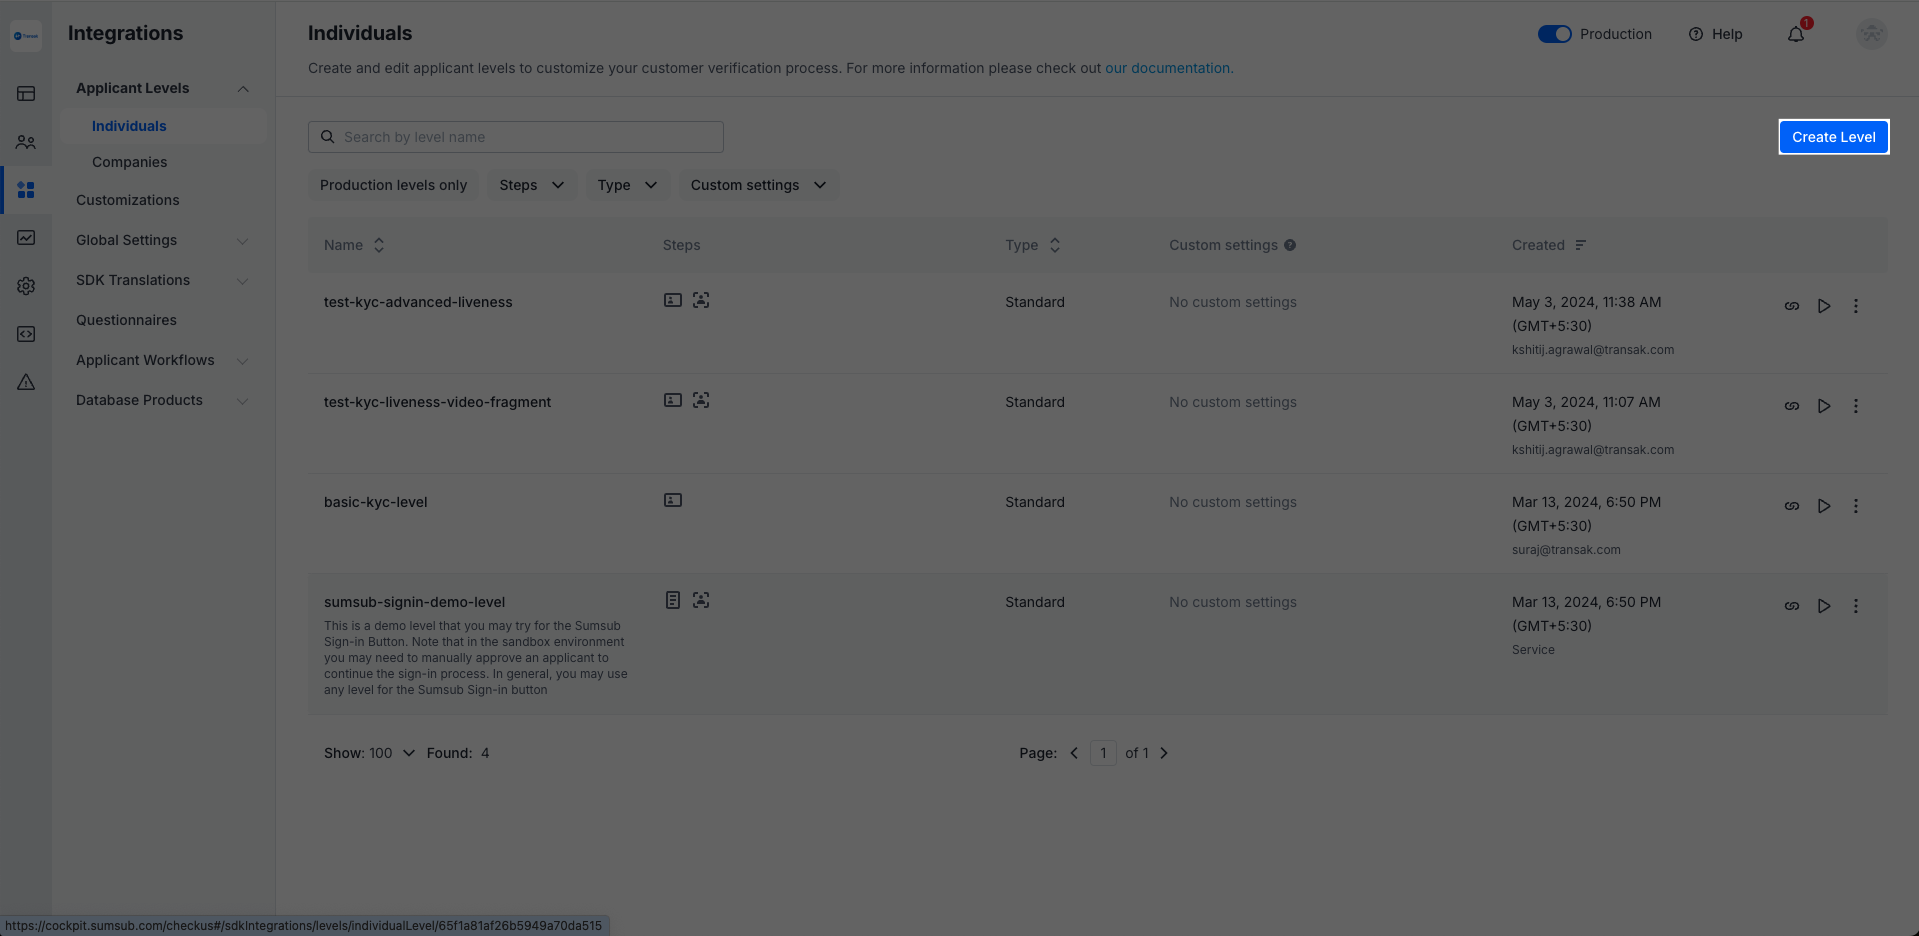
Step 3: Create a New Level
Create a New Level name as Transak KYC Reliance or any identifier on your choice.
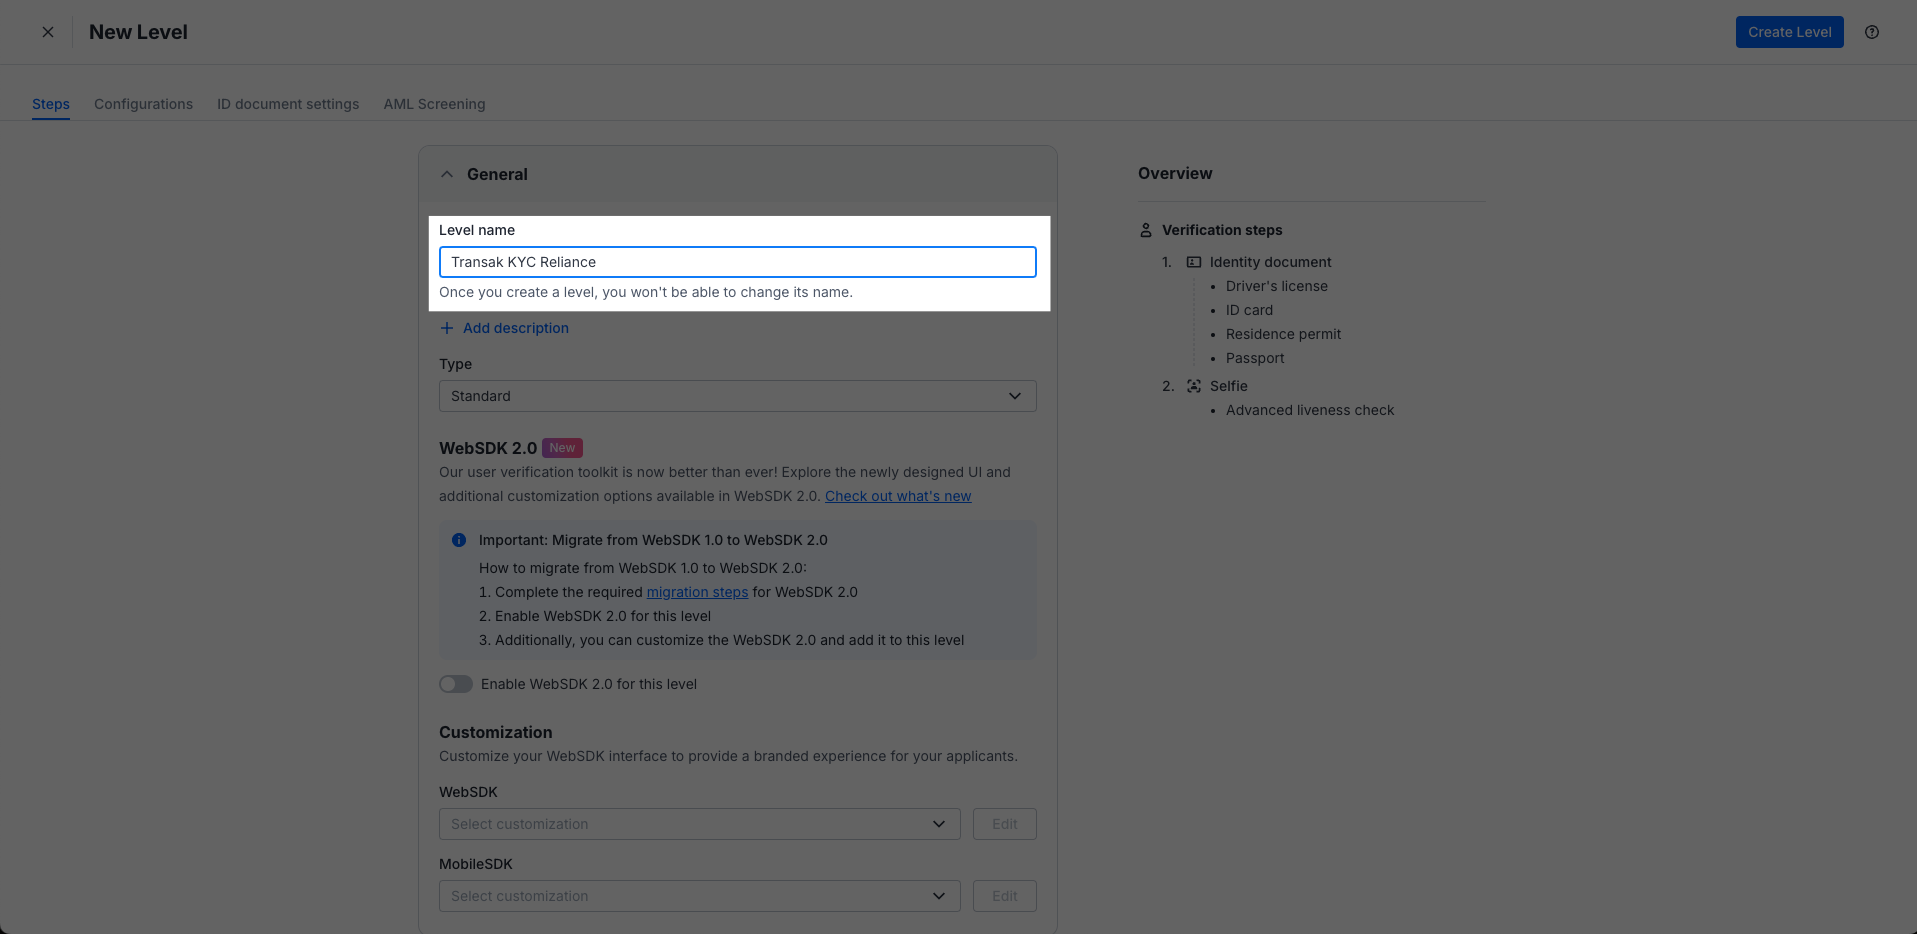
Step 4: Enable Identity document and Selfie
Enable the Identity document and Selfie in a given format mentioned in the screenshot below.
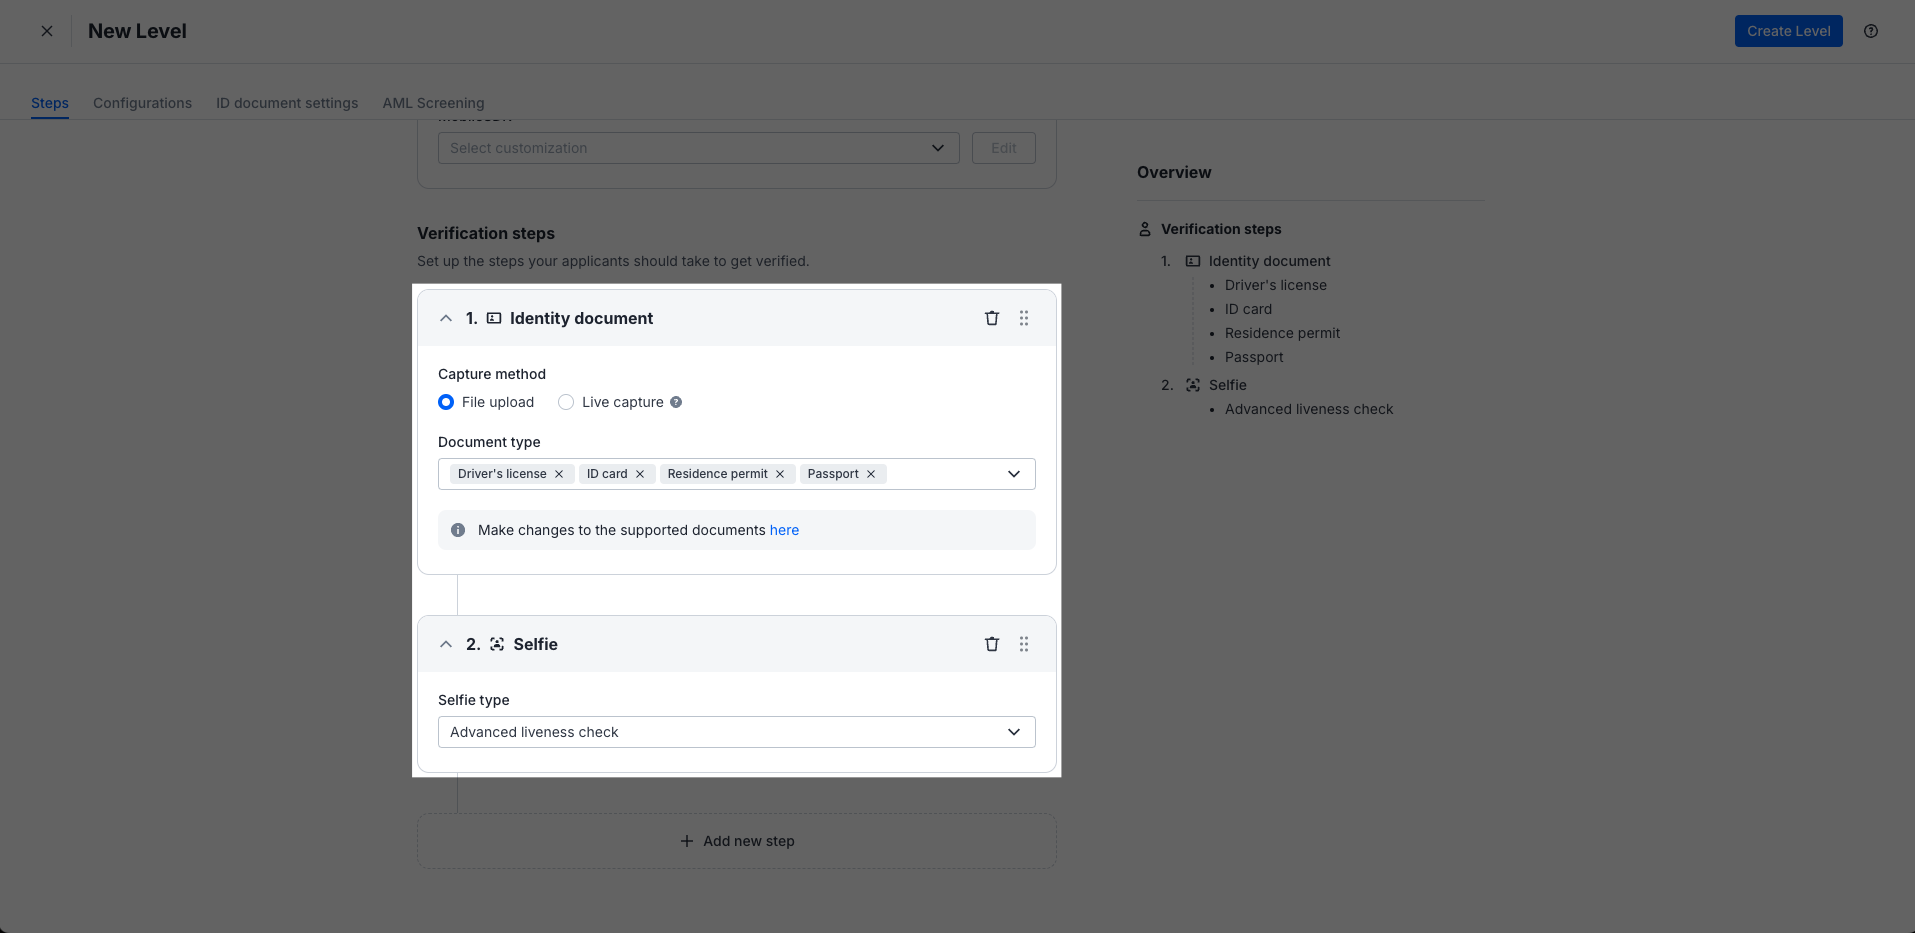
Note: Ensure all the mentioned Document type and Selfie type mentioned are updated for a seamless KYC reliance experience with Transak.
🎬 Getting Started
Follow these steps to integrate and share KYC data with Transak:
Step 1: Log in to Your Sumsub Dashboard
Log in to your Sumsub dashboard at Sumsub Dashboard and open your project.
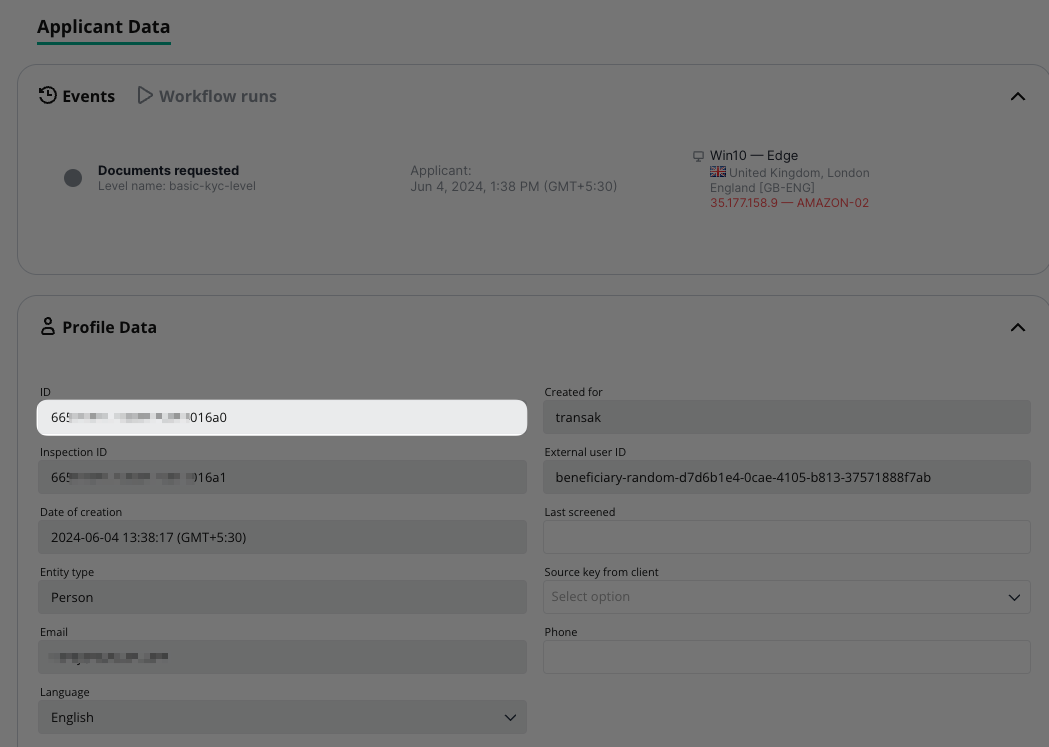
Step 2: Retrieve Your IDs
Retrieve your APPLICANT_ID (e.g., 665xxxxxxxxxxxx6a0) from the dashboard.
Step 3: Generate Your KYC Share Token
Generate your KYC share token by passing applicationId (retrieved in Step 2), forClientId as transak, ttlInSecs using the API below.
Note: TheforClientIdshould always be transak in order to fetch the data from your platform.
curl --request POST \
  --url https://api.sumsub.com/resources/accessTokens/shareToken \
  --header 'content-type: application/json' \
  --data '{
    "applicantId": "<APPLICANT_ID>",
    "forClientId": "transak",
    "ttlInSecs": "600"
}'{
"token": "eyJhbGciOiJub25lIn0.eyJqdGkiOiJfYWN0LTZmODI2ZTU0LTE2MzctNDViMS05NzMyLWY1MjZiN2YxNWE3YyIsInVybCI6Imh0dHBzOi8vYXBpLnN1bXN1Yi5jb20ifQ."
}
The KYC Share Token is valid only for 20 minutes. Make sure to complete any actions required with this token within that timeframe to avoid expiration and the need to request a new token.
Step 4: Pass the KYC Shared Token to Transak via Widget URL
Pass the kycShareToken, kycShareTokenProvider in Create Widget URL for SDK or Browser Redirection using the following query parameters.
| Parameter | Value |
|---|---|
kycShareTokenProvider | SUMSUB (This value should be hardcoded as the provider is Sumsub) |
kycShareToken | A secured KYC share token generated in Step 3 |
📝 Code Samples
Create Widget URLusing ``kycShareTokenProviderand kycShareToken` as widgetParams:
curl --request POST \
  --url https://api-gateway-stg.transak.com/api/v2/auth/session\
  --header 'accept: application/json' \
  --header 'access-token: YOUR_ACCESS_TOKEN' \
  --header 'authorization: YOUR_USER_AUTH_TOKEN' \
  --header 'content-type: application/json' \
  --data '
{
  "widgetParams": {
    "apiKey": "YOUR_API_KEY",
    "referrerDomain": "yourdomain.com",
    "kycShareTokenProvider": "SUMSUB",
    "kycShareToken": "eyJhbGciOiJub25lIn0.eyJqdGkiOiJfYWN0LTZmODI2ZTU0LTE2MzctNDViMS05NzMyLWY1MjZiN2YxNWE3YyIsInVybCI6Imh0dHBzOi8vYXBpLnN1bXN1Yi5jb20ifQ."
  },
  "landingPage": "HomePage"
}
'
Pass SessionId and apikey in the code as shown:
import transakSDK from '@transak/transak-sdk';

let transak = new transakSDK({
 widgetUrl: "https://global-stg.transak.com?apiKey=YOUR_API_KEY&sessionId=<YOUR_SESSION_ID>"
  // .....
  // For the full list of customisation options check the link above
});

transak.init();

// To get all the events
transak.on(transak.ALL_EVENTS, (data) => {
  console.log(data);
});

// This will trigger when the user closed the widget
transak.on(transak.EVENTS.TRANSAK_WIDGET_CLOSE, (orderData) => {
  transak.close();
});

// This will trigger when the user marks payment is made
transak.on(transak.EVENTS.TRANSAK_ORDER_SUCCESSFUL, (orderData) => {
  console.log(orderData);
  transak.close();
});https://global-beta.transak.com/?apiKey=<YOUR_API_KEY>&sessionId=<YOUR_SESSION_ID><iframe
id="transakIframe"
src="https://global-beta.transak.com/?apiKey=<YOUR_API_KEY>&sessionId=<YOUR_SESSION_ID>
allow="camera;microphone;payment"
style="height: 100vh; width: 100%; border: none;">
</iframe>🔑 Sumsub Donor Access Token
Note:
Partners need to share their respective email IDs to receive the access token via a secure link.
→ Use this token in the Subsum Dashboard by following these steps:
Step 1. Go to Reusable identity → Partners.
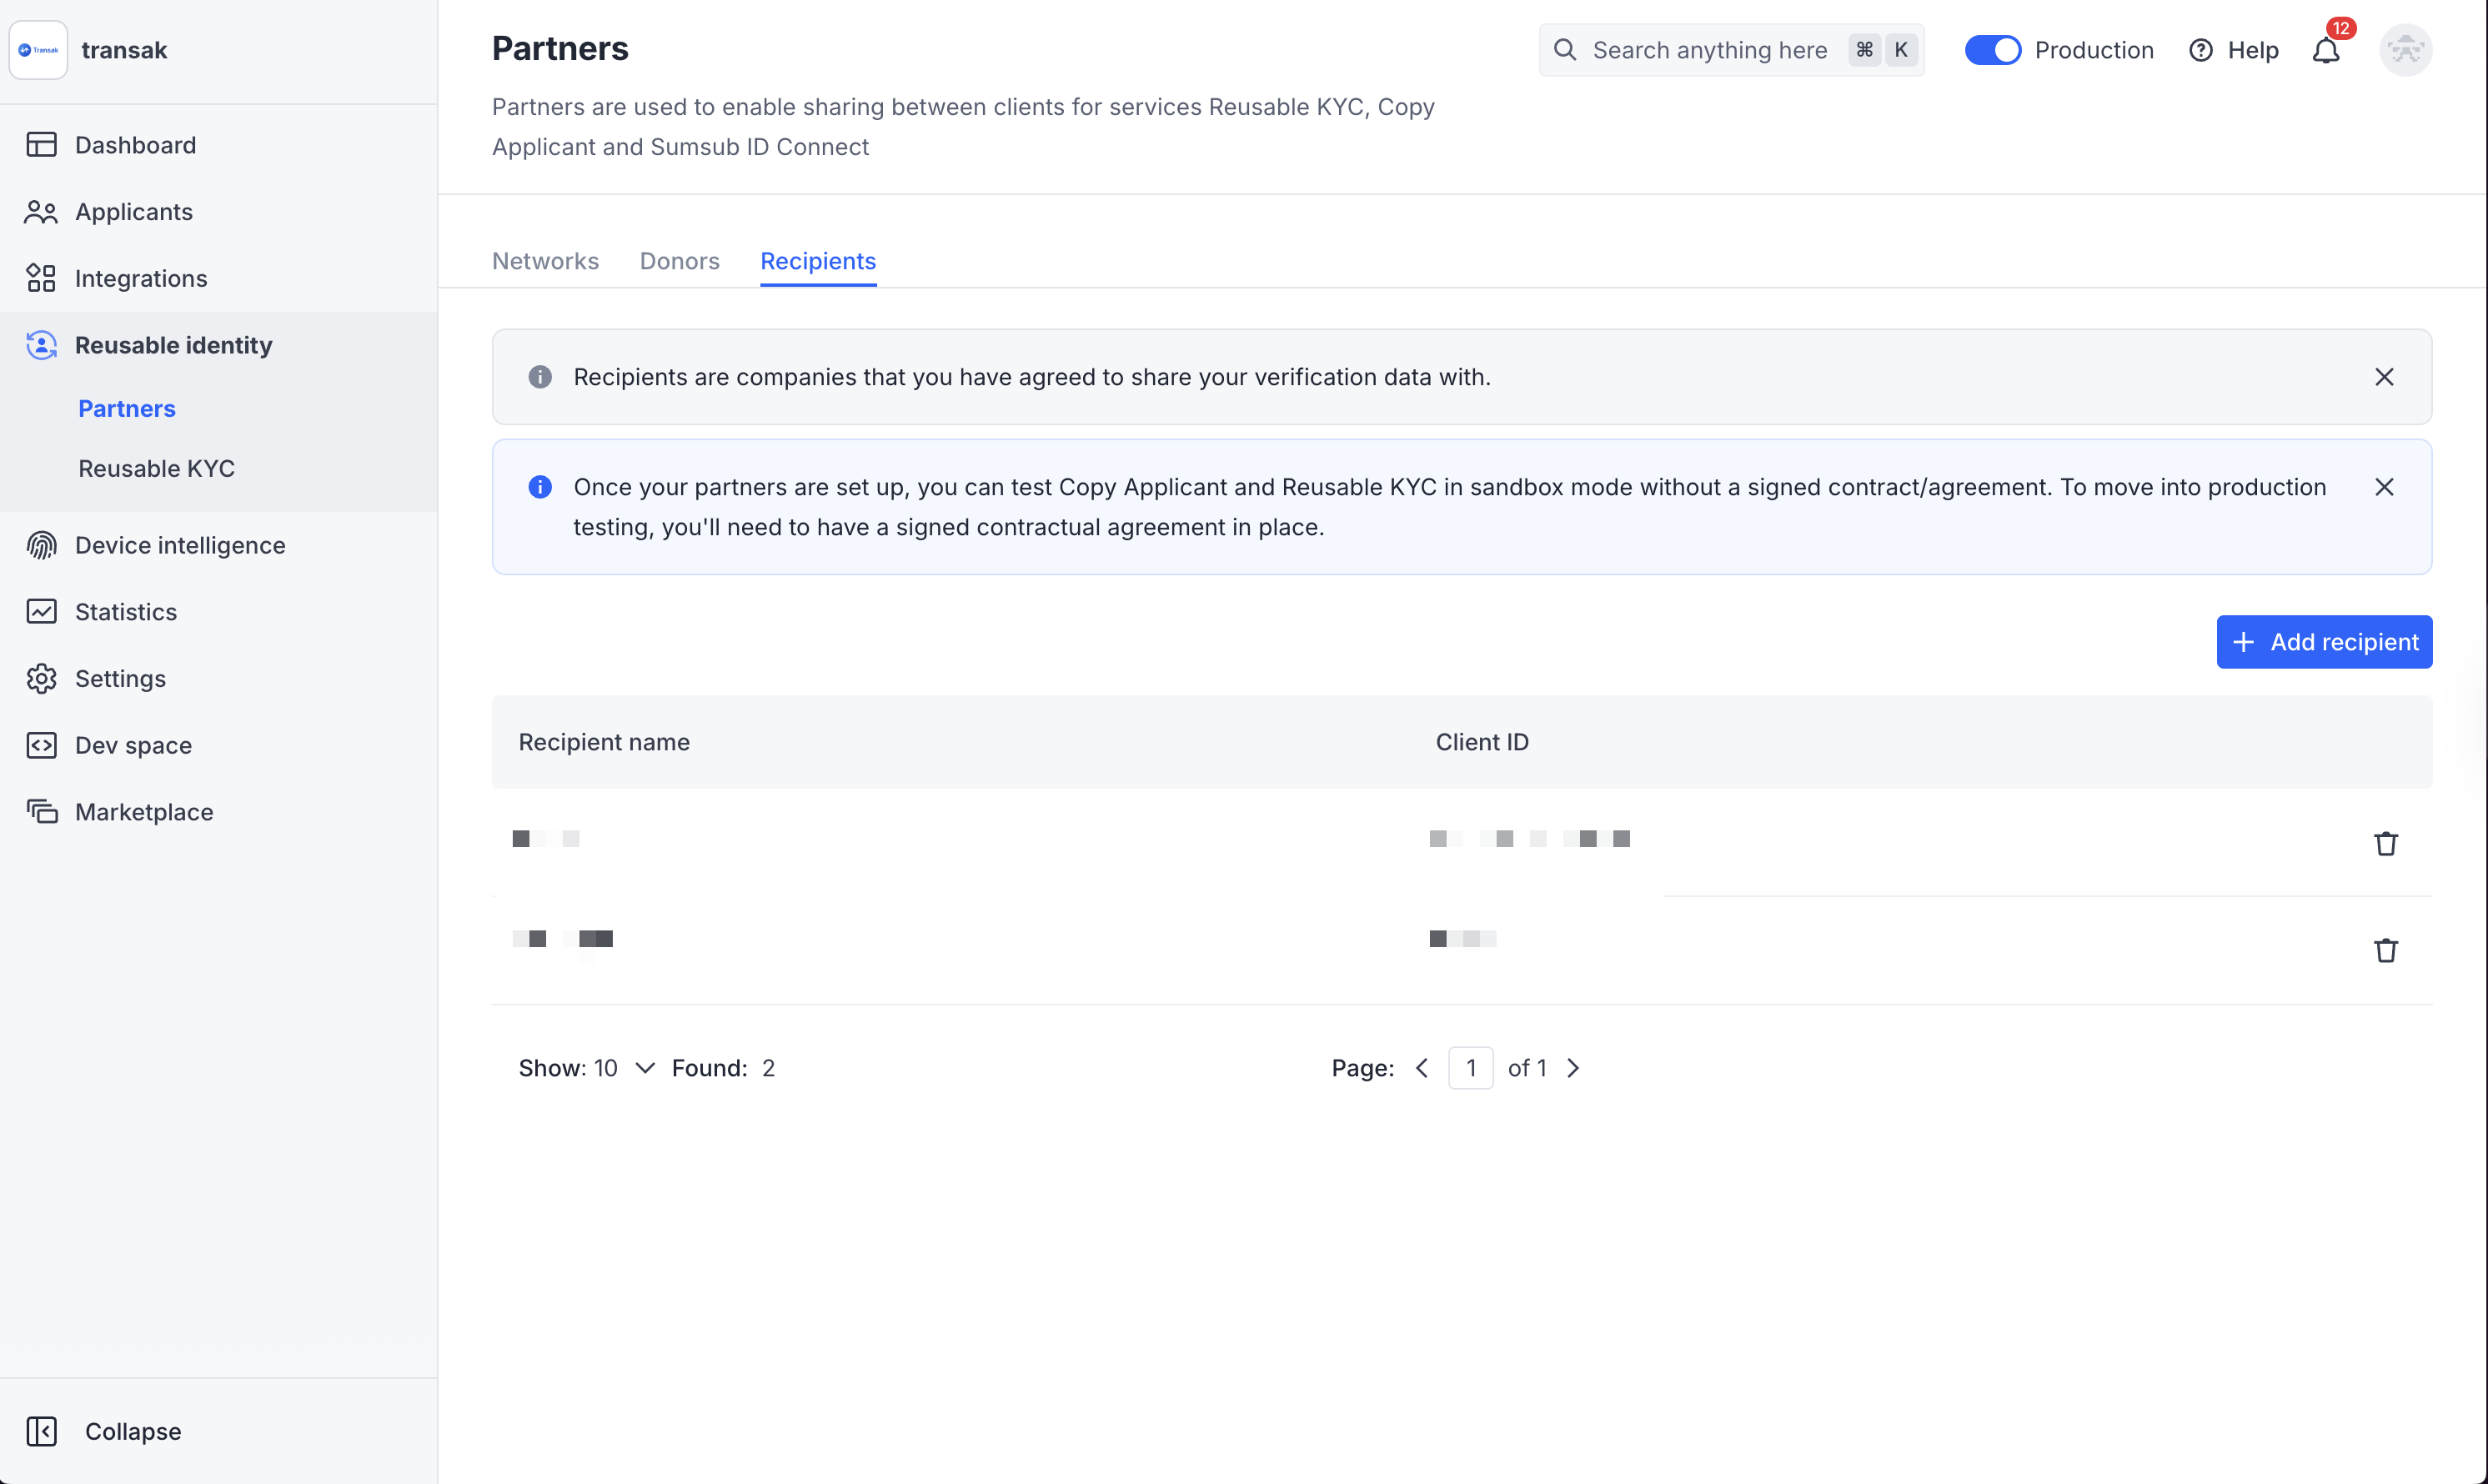
Step 2. Click on Add Recipient. In the pop-up, enter the donor token that we provided via secure link.

💻 Flow demo
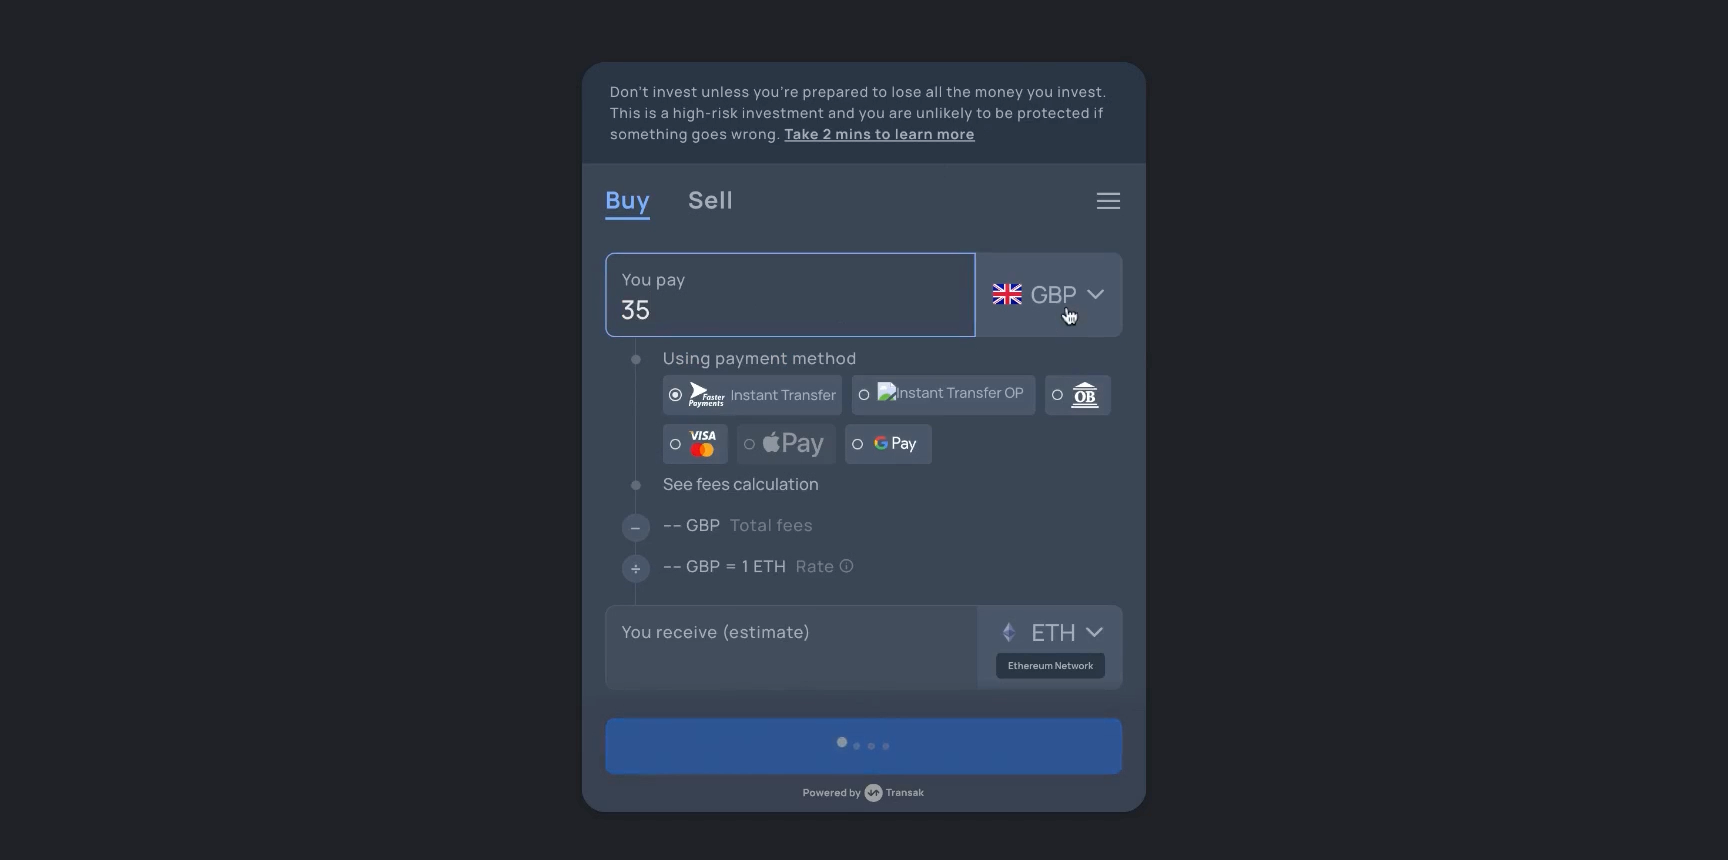
Step 1: Load the Widget
- Initialize the widget with the appropriate query parameters using any integration method
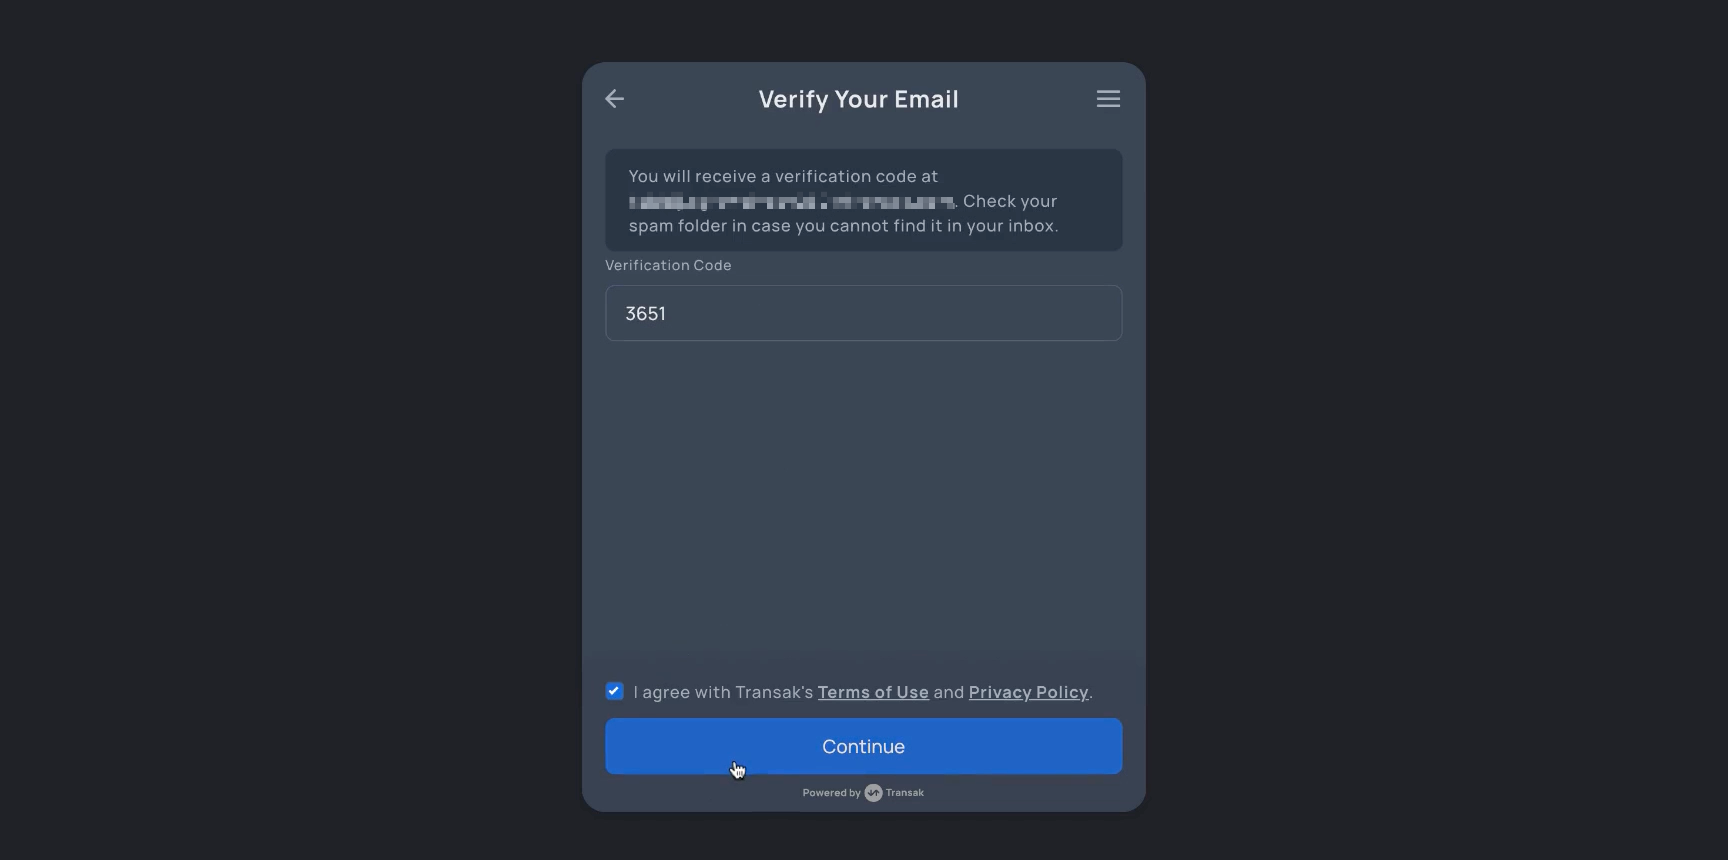
Step 2: Email Verification
- Enter your email address.
- Verify your email using the OTP (One-Time Password) sent to your inbox.
- Proceed to the next step upon successful verification.
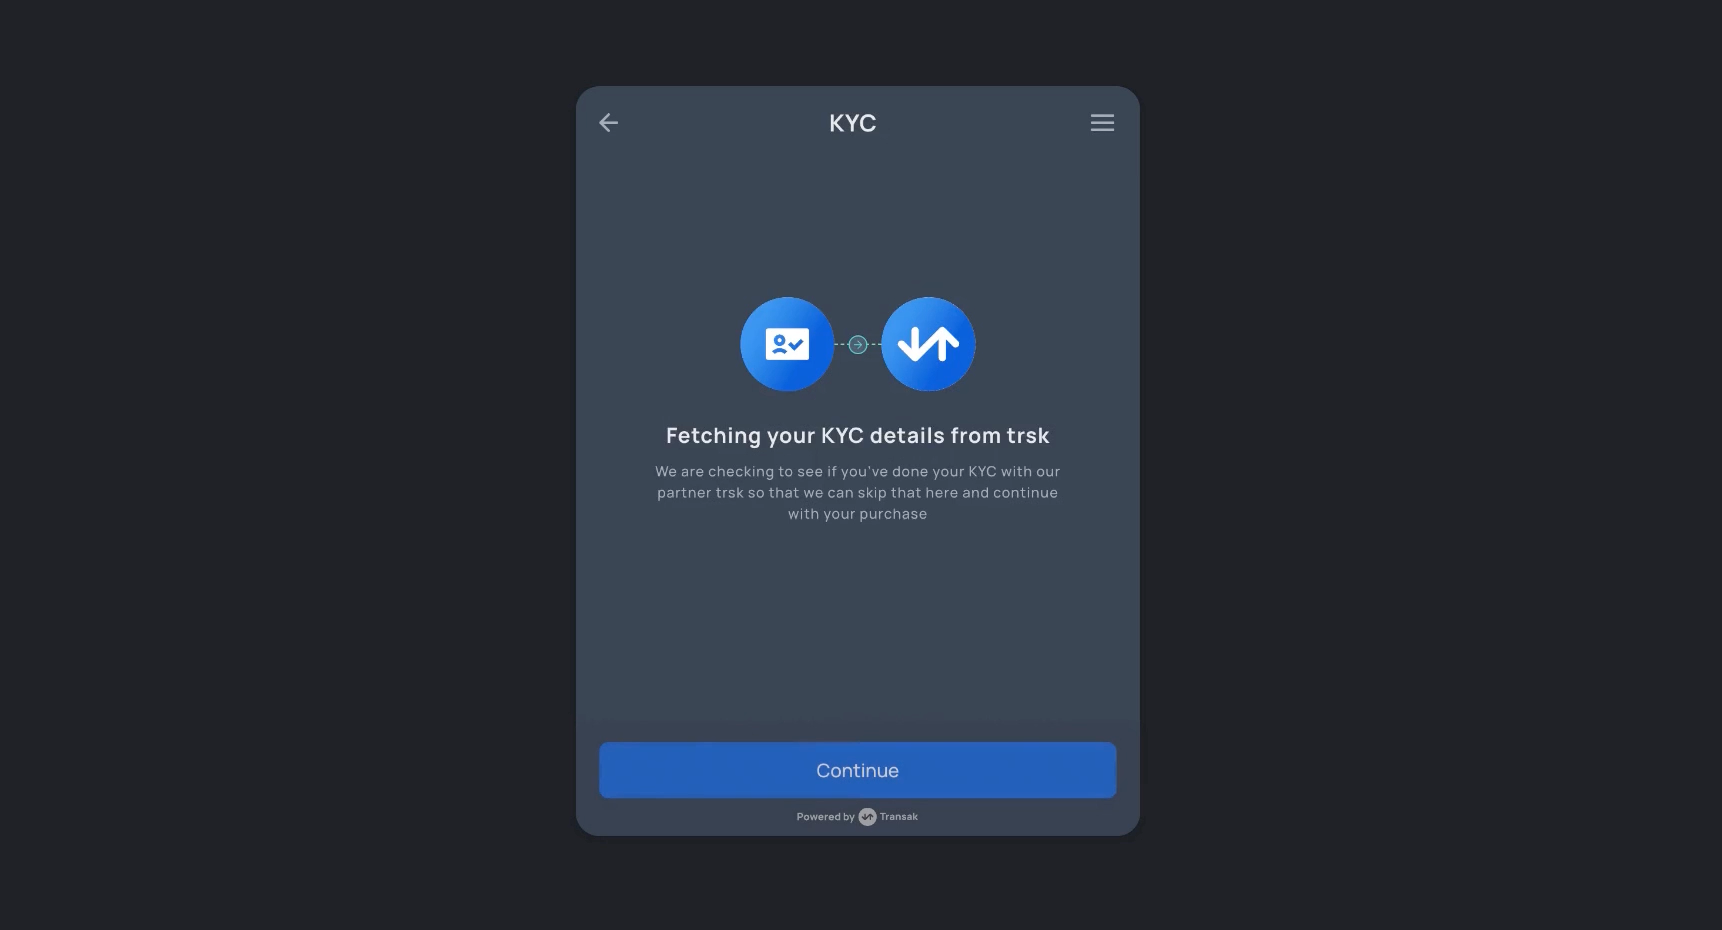
Step 3: KYC Data Fetching
- Our system will begin fetching the KYC data using the shared token from Sumsub.
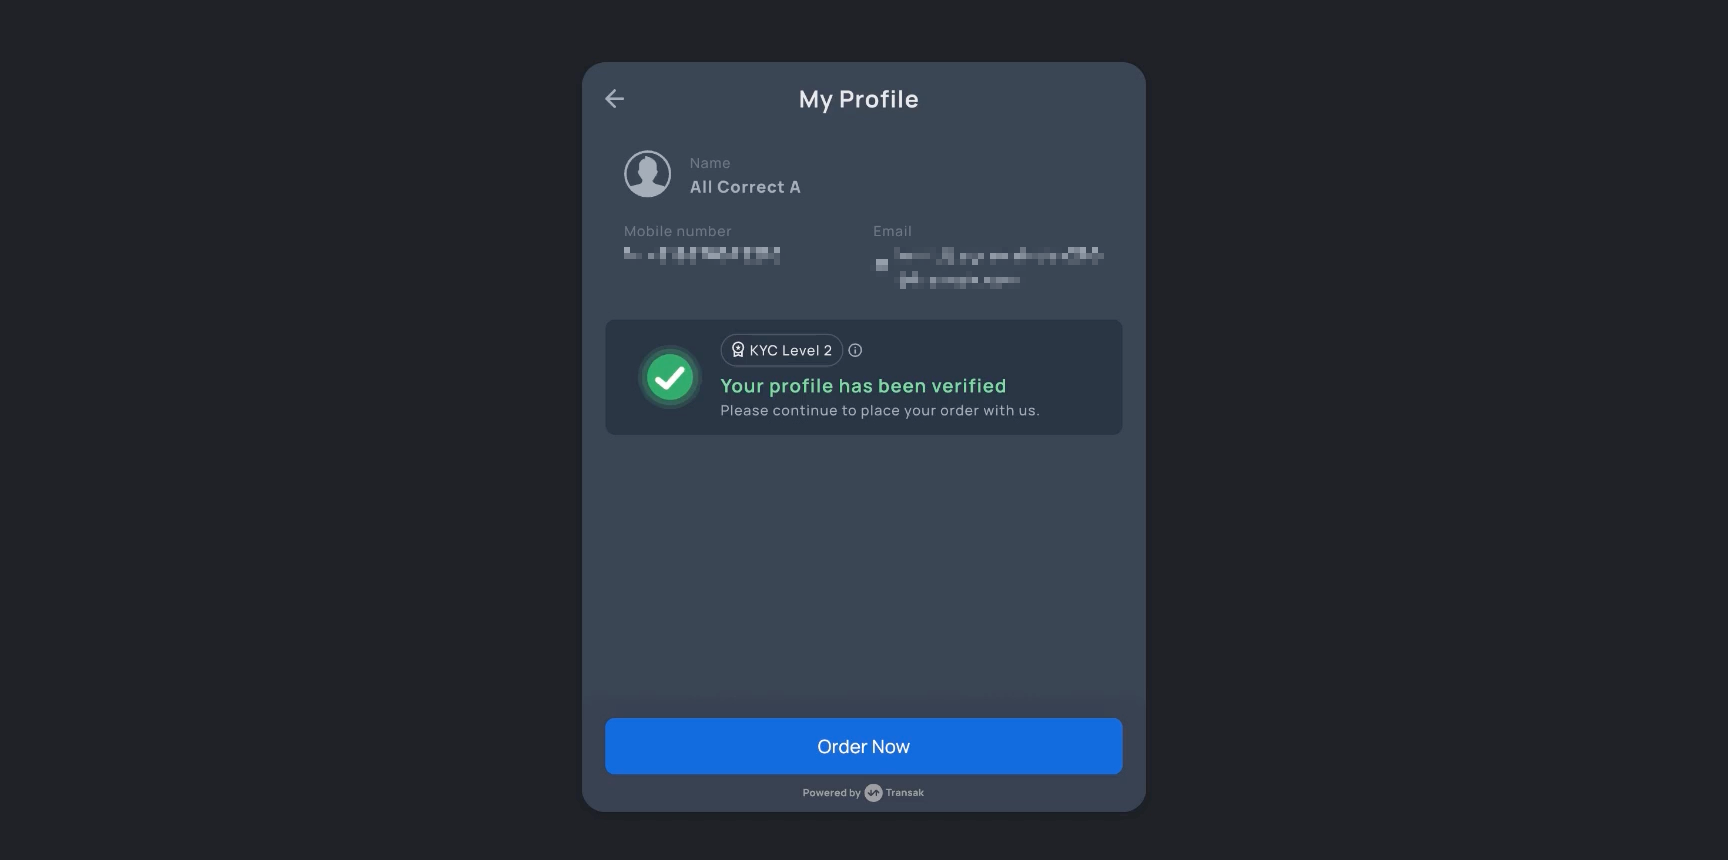
Step 4: Order Placement
- Transak has successfully secured the KYC data.
- The user is now ready to place an order instantly.
✔ Mandatory Fields
Transak performs checks for the seamless onboarding of the users using Sumsub. The flow will be seamless upon passing the following fields to Transak via Sumsub shared token.
Fields | Validation | Valid Format |
|---|---|---|
First Name | Should range between 1 to 50 characters. | John |
Last Name | Should range between 1 to 50 characters. | Doe |
Date of Birth (DOB) | The user's age should be >= 18 years and <= 150 | dd/mm/yyyy, dd-mm-yyyy, dd.mm.yyyy |
Mobile Number | Should be a valid mobile number starting with + and a valid country code matching the user's region. | +11234567890, +919876543210 |
Address Line 1 | Should range between 1 to 200 characters. |
|
Address Line 2 | This field is optional, and the format should be the same as Address Line 1. Should range between 1 to 200 characters. | |
City | Should range between 1 to 50 characters. | Austin |
State | Should range between 1 to 100 characters. | Texas |
Post Code | Should be a valid postcode. | 45123 |
Country Code | Should be a valid country code. | FRA, IND |
ID Document | Should be a valid supported country document | Passport, Driver's License, Residence Permit, ID Card |
Advanced Liveliness | Should be a valid live selfie. | Live selfie |
Updated 2 months ago